
Notebooks – A vague guide to making
Making sketchbooks is a great way to use small offcuts of fabric and unwanted grey board.
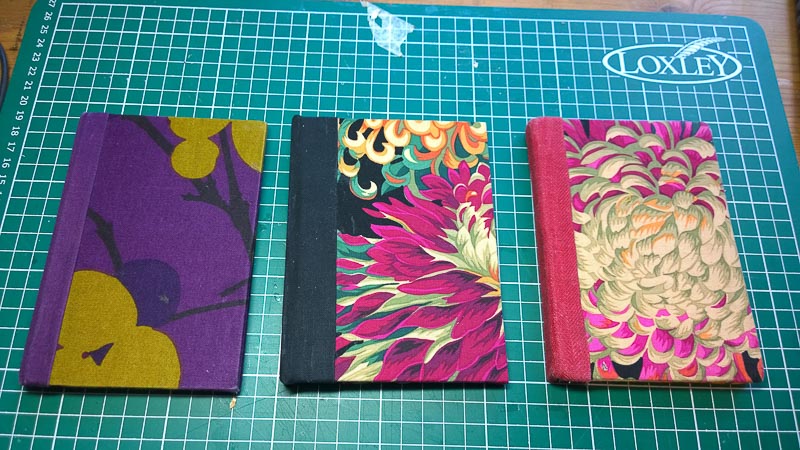
You can either use a single piece of fabric for the book covering or two smaller pieces and a contrasting spine
You will need some grey board. As found as the backing for notepads, sketchbooks or unwanted hardback books.
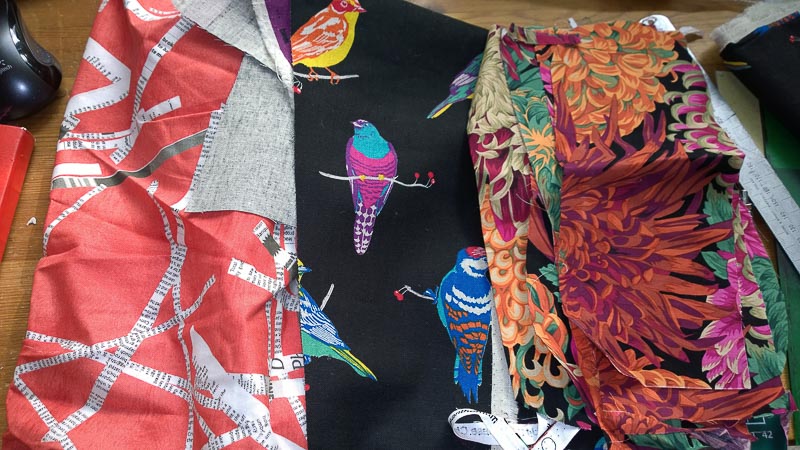
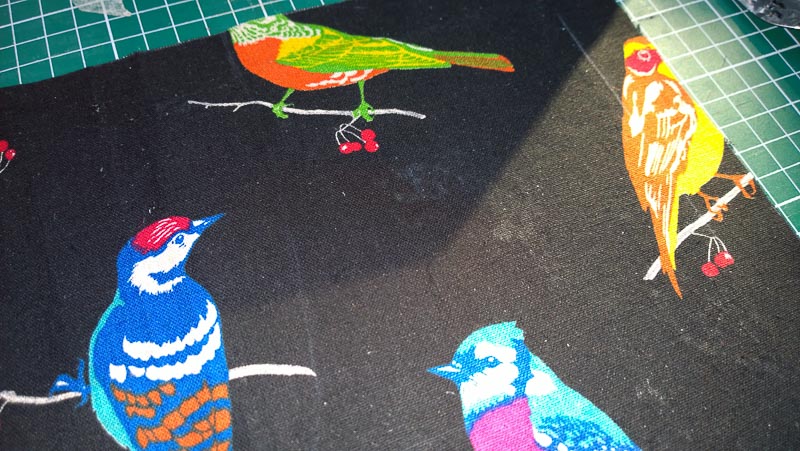
Choose some offcuts of fabric for your note book covering. Dress weight cotton is the best thing to use. Either a single rectangle or a separate front and back piece with a matching or contrasting spine. Use light or medium weight iron-on interfacing on the back of the fabric. This will help to stop the glue coming through the fabric.
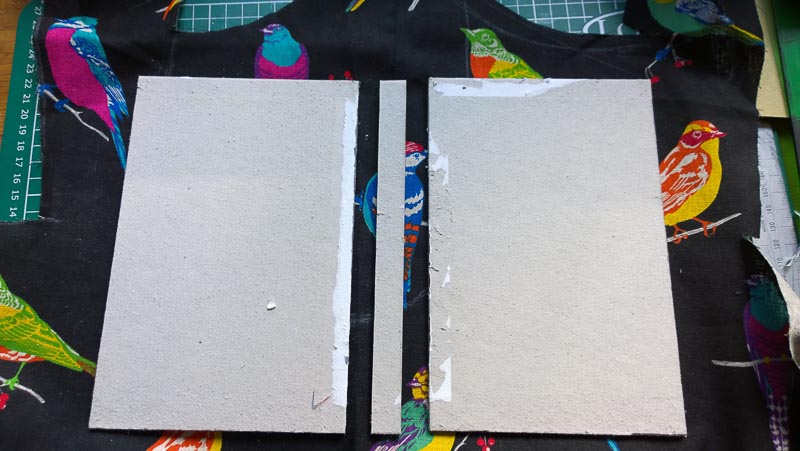
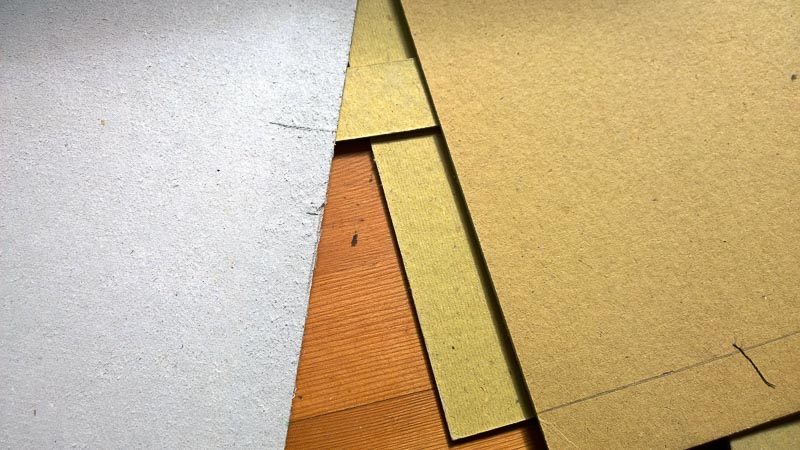
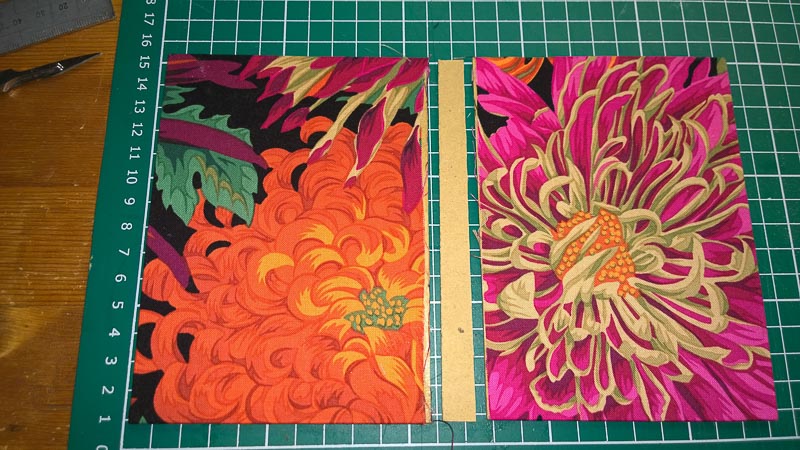
Cut out a front, back and spine piece from your grey board. I suggest basing the size on an existing notebook. A good portable size is 100mm wide x 150mm height x 10-15mm thick (depending on how many pages you want). Identify a piece of fabric to use.
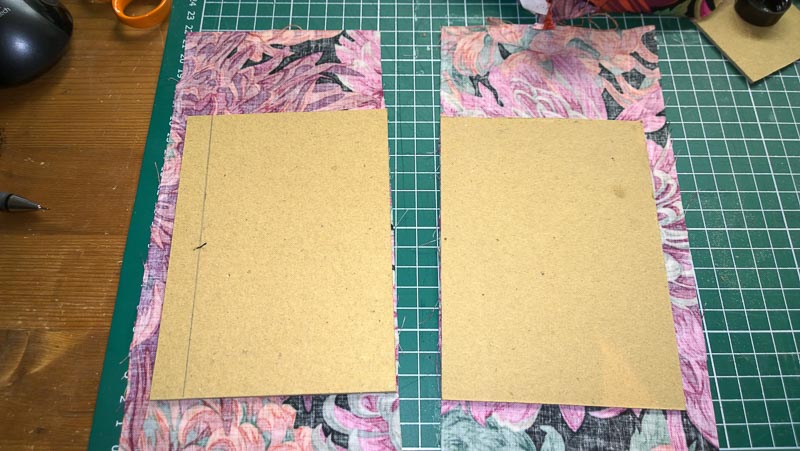
Using separate pieces of fabric for the front and back is a good way to use smaller bits of fabric. It can be more fiddly to cut and glue the spine.
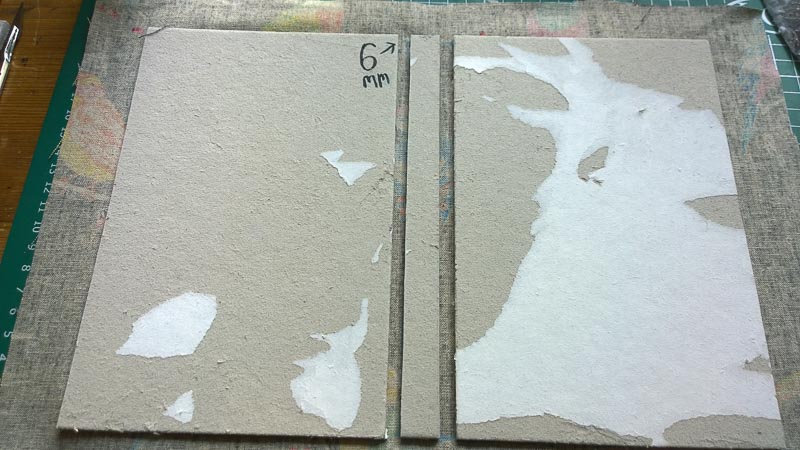
Leave a gap of 6mm between the spine and the front and back pieces. The gap size will depend on the thickness of the grey board you use. Cut your fabric to size leaving roughly 15mm around the edges to fold the fabric over. The width of the spine will be the thickness of your pages plus the thickness of the grey board times two.
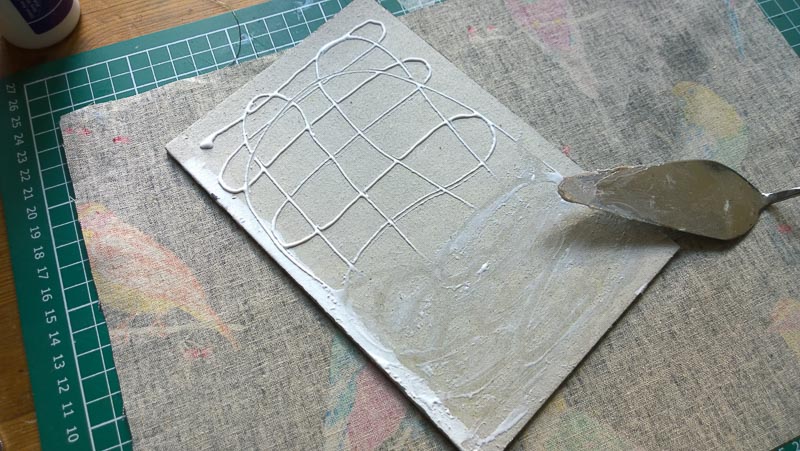
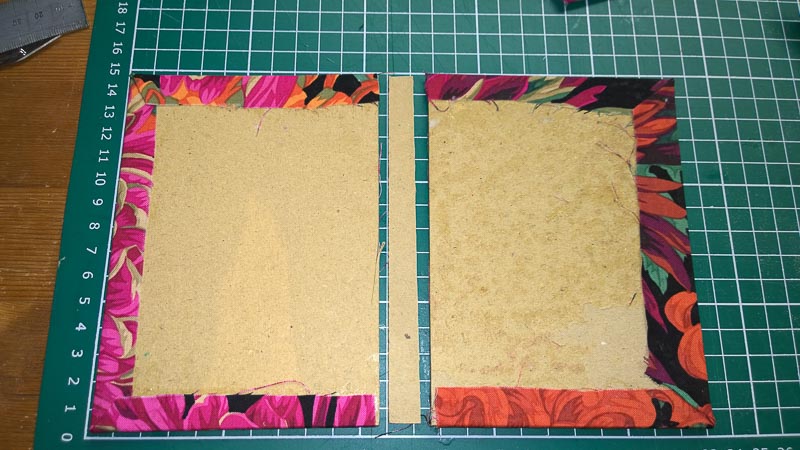
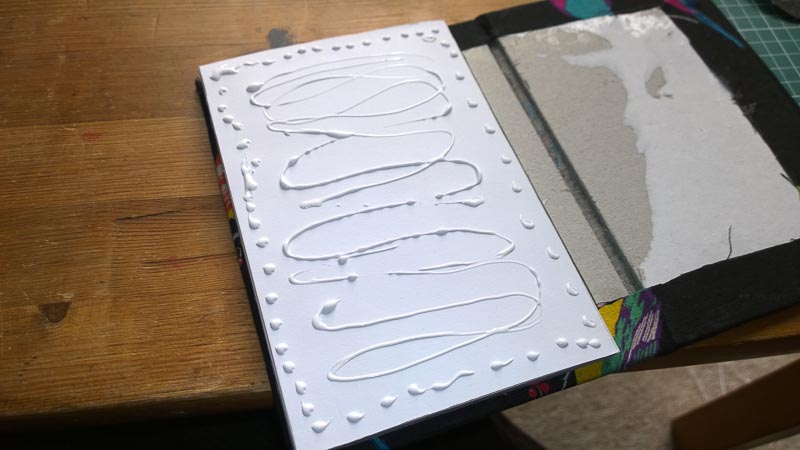
Spread an even layer of PVA / paper glue on your board panels. If the glue is too thick it will come through the fabric. If the glue is too thin then it won’t stick the fabric.
Glue the fabric to the board and then fold the edges over and glue them
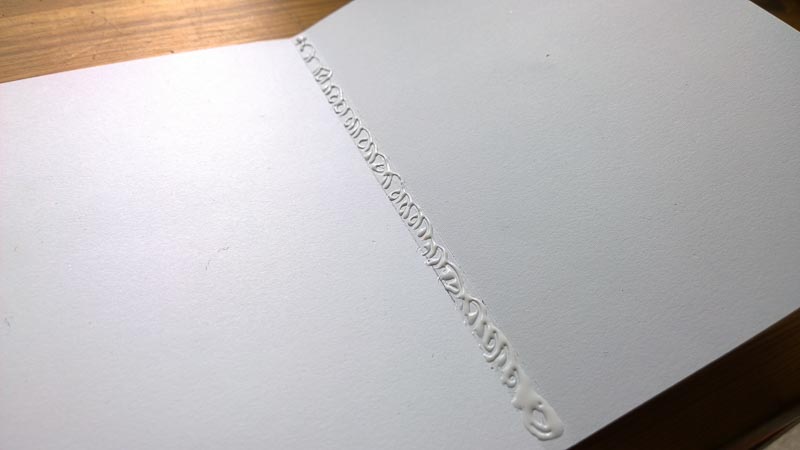
If you use too much glue it will seep through the fabric and leave white bits (as shown above).
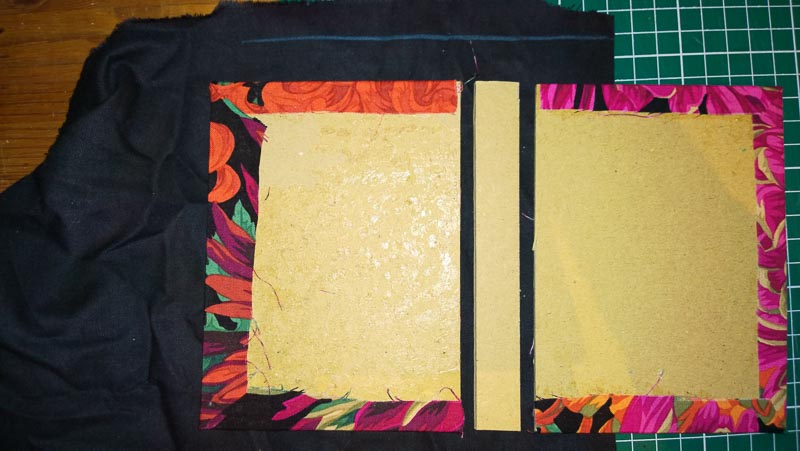
Fold and glue the top and bottom of the fabric over.
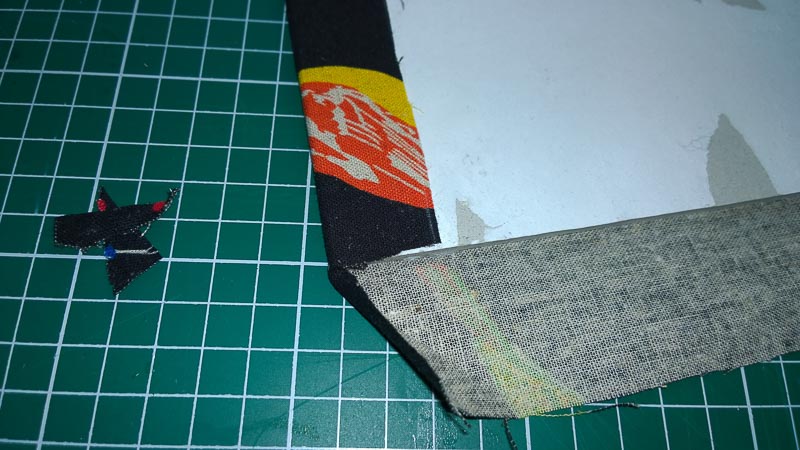
To fold the fabric over the sides you will need to cut out the fabric at the corners. This bit is tricky.
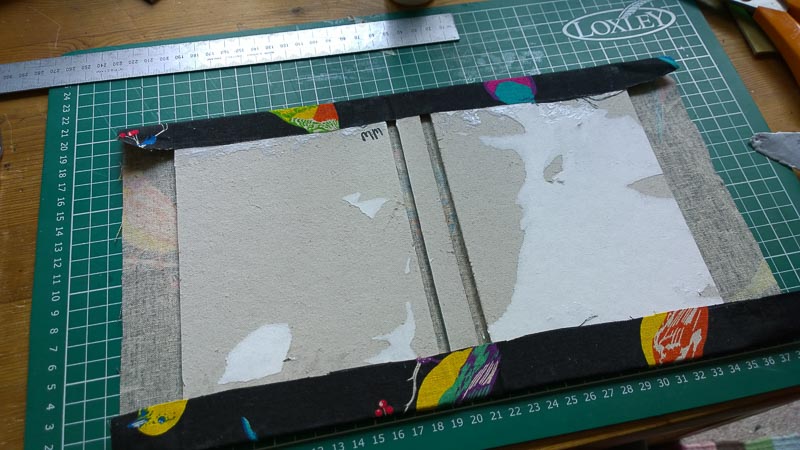
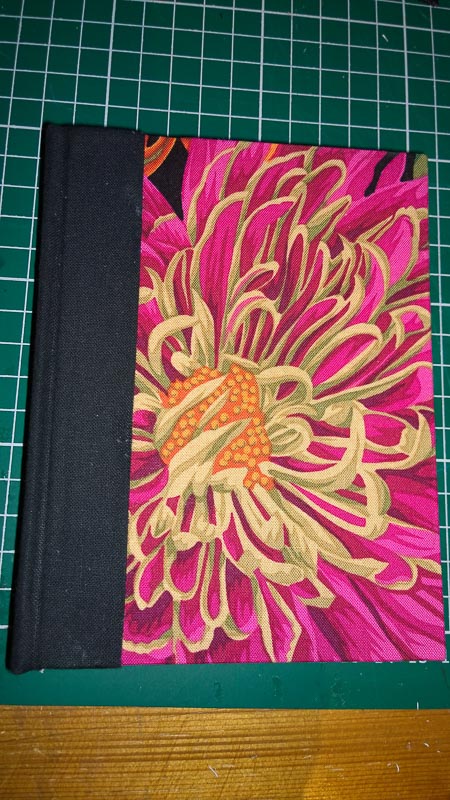
Glued front and back cover
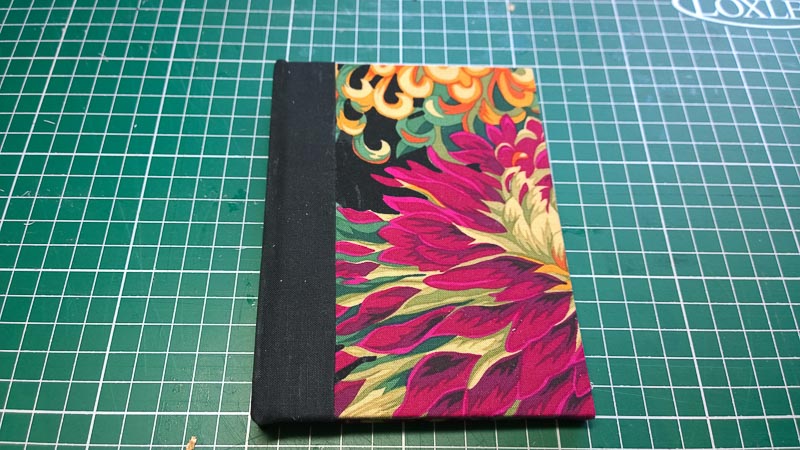
Front and back glued and folded.
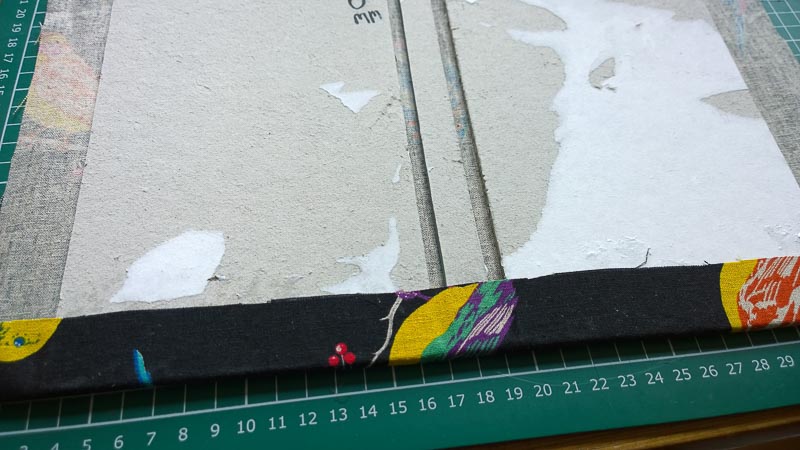
Choose fabric for the spine. I tend to use fairly thick black cotton. I use masking tape to mark where the spine piece will end on the front and back cover. Fold the fabric over where it ends on the covers to hide raw edges.
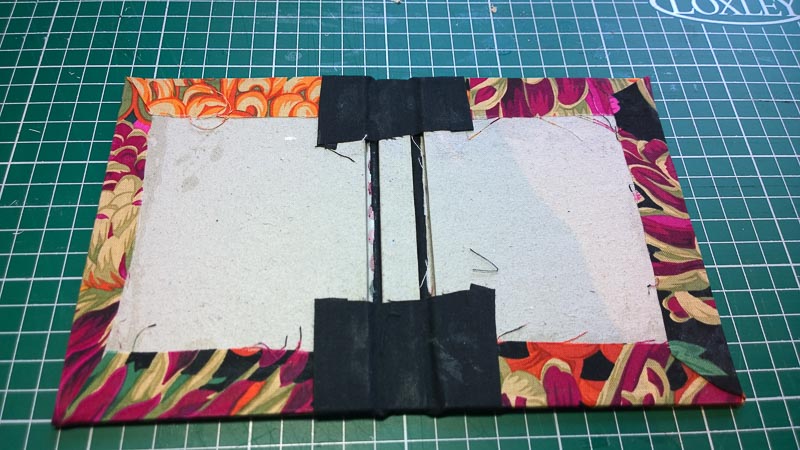
Fold and glue the spine fabric.
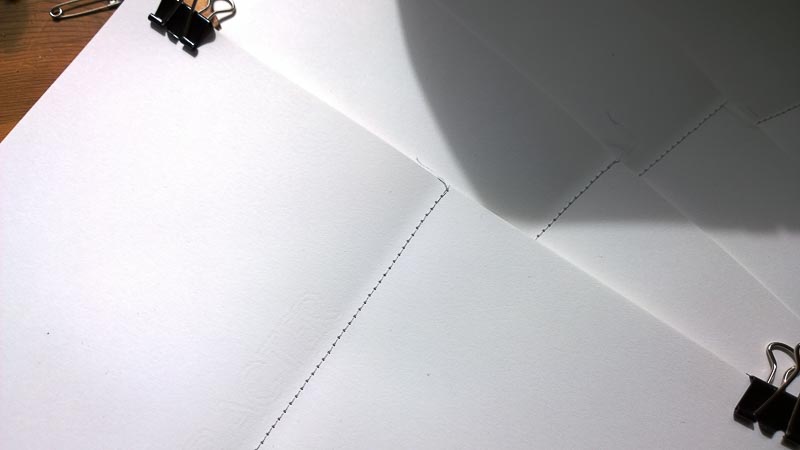
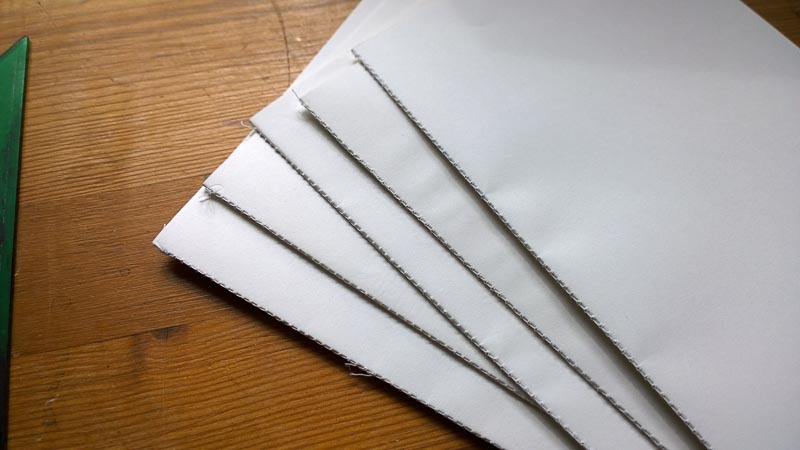
Cut your paper into slightly wider than double page pieces. Put them in bunches of 5 pages. Sew them down the middle. Bulldog clips help to hold the pages together when sewing.
Fold the bunched pages over. A cold iron or something heavy can be used to flatten them.
Glue your paper bunches onto a thicker bit of paper or card.

Leave the wad of pages to dry. You could put it between two bits of wood in a vice. You will need to trim the pages down with a scalpel, guillotine or some other sharp thing. You can use sandpaper to neaten the edges.
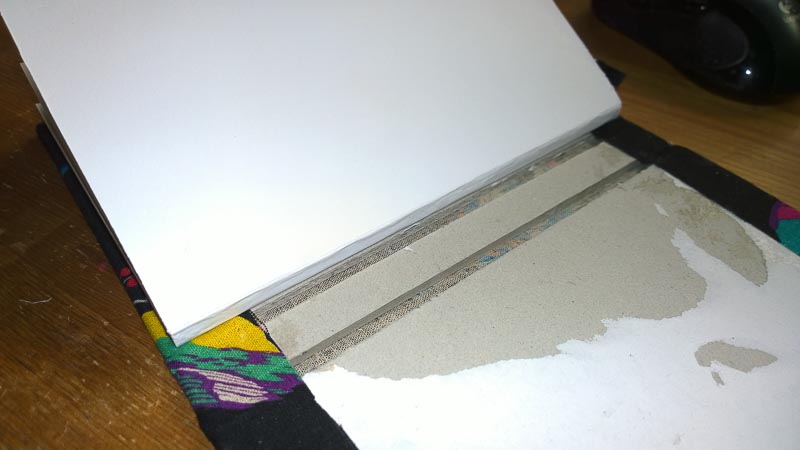
Glue the front and back of the wad of pages into the cover. DO NOT GLUE IT TO THE SPINE.
Use plenty of glue.
A finished notebook / sketchbook.
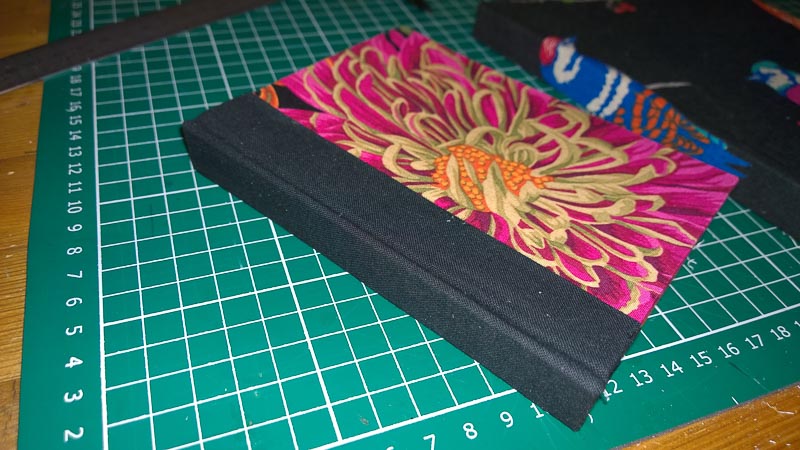
The finished thing. Write something in it or give it to someone.